0
0
Posted: 26th September 2023 | Author: Jamie Brown
Back to news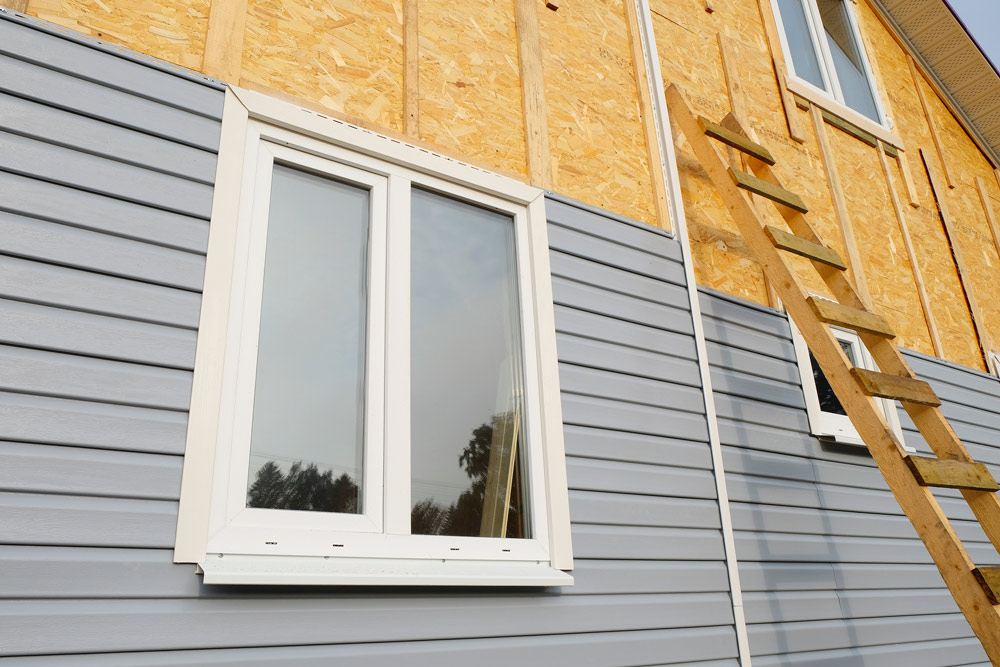
Cladding can provide lots of benefits for your home. It’s a durable, long-lasting protective covering for your walls, offering weather protection and improved thermal insulation.
It also has great aesthetic appeal, allowing you to create a unique and eye-catching look for your home. If you want a property with kerb appeal, cladding is an effective way to achieve it.
But to get the most from cladding, it needs to be fitted properly. If you’re considering cladding, read on to find out how to install it - including how to calculate the quantity of materials you need.
The process for installing external cladding all depends on what material you’ve chosen. There are a few different types of cladding, including:
Here, we’ll focus primarily on how to fit timber cladding, as it’s one of the most popular choices.
Once you’ve chosen your material, another important step before work starts is to check whether you need planning permission for your cladding.
Check with your local authority if you’re planning to add or completely change the cladding on your property, especially if you live in a conservation area or you live in a listed building. You might also need to check whether building regulations apply, particularly in relation to fire safety.
Now, let’s dive into the steps required to successfully fit cladding over the external walls of your property:
Getting the right quantity of cladding is crucial, but it can be difficult.
Order too much and you’ll have products left over, which wastes both the material and your money. But if you run out of cladding materials mid-installation, this could cause a serious delay.
Plus, it’ll leave your walls exposed to the elements while new materials are sourced, ordered and delivered.
So it’s best to get it right first time. Accurate measurements will be enormously helpful here, allowing you to calculate exactly how much material you need. If you have standard square and rectangular areas to cover, you’ll find it much easier. But for tricky angles, gable ends and other awkward-sized areas, you might need to do some more complex calculations.
To save yourself some time and head-scratching, use our handy Universal Coverage Calculator. Enter the total measurements for your walls, along with the length and width of the cladding products you’re interested in using. This useful tool will work out how many packs of cladding you need to buy, and it only takes a few clicks to order too.
Remember to leave yourself a contingency for wastage and cuts, so over-order by around 10% to ensure you have a stockpile of extra materials if you need them.
Back to news
The Author: Jamie Brown
From my early working life as a labourer, then becoming a builder and a property developer, I have been buying and using building materials for over 25 years. I set about to start a builders merchant which can offer high-quality products and significant savings along with speedy delivery to keep your sites moving. Still having a foot in the construction industry on my own property, I always make sure the products we sell are up to our high standards which is important for us to keep a great image for the company and superior reputation to supply quality!


