Posted: 7th October 2022 | Author: Jamie Brown | Category: Garden
Back to news
A timber deck can be a great addition to any garden, providing a purpose-built area to host parties, enjoy outdoor dining and soak up the sunshine. Whether you’re an expert looking for tips or a DIY beginner planning your first project, keep reading to learn the best way to lay a timber decking area in a garden.
The first step to building a deck is to decide how big it’s going to be. If you’re unsure about how much of the garden you want to convert into a deck, it’s always best to err on the side of caution and choose a smaller size to begin with. Remember, extending a decking area is far easier than making an existing one smaller.
Things to take into consideration in the decision-making process include:
The decking frame is the ‘skeleton’ of your decking that goes underneath your decking boards, usually made out of carcassing timber. Once you’ve completed the project, you’ll only see the outside edge of the frame – the rest will be hidden from view. Because of this, the aesthetics of your decking frame aren’t a top priority.
So when you choose which size of timber to use for your decking frame, your main consideration should be sturdiness. A frame built using 4×2 timber should have the strength to support you, your guests, your furniture and more, which makes it a great choice for decking frames. However, if you want something a bit stronger, 6×2 timber may be better suited to your needs.
If you’re building your deck on top of an existing concrete or paved area, you won’t need to prepare the ground at all. However, if you’re building on the turf, there will be some preparation required.
Mark out the size of your decking area using builder’s line and pegs, then dig the top layer of turf away. You’ll also need to remove any plants or other debris. Use a spirit level to ensure that your prepared area is even. Next, cover the area with a weed control fabric, and layer gravel over the top.
Lay out your 4×2 or 6×2 joists into a square with joists going across to support your decking. Secure the outer frame with coach screws, then do the same with the inner joists. You may find it easiest to drill pilot holes before you drill in your coach screws, as this will help to prevent the timber from splitting.
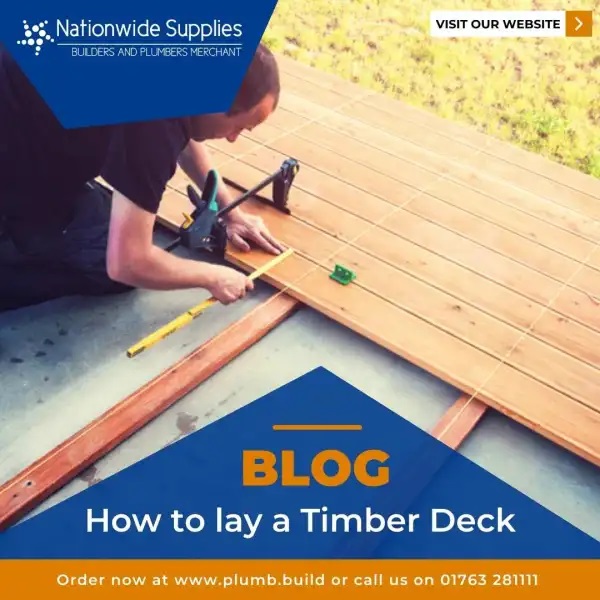
With your decking frame secure, you can begin fitting your decking boards. For this guide, we’ll walk you through using timber decking boards, but there are composite alternatives available as well. Your decking boards will need to be fitted perpendicular to the inner joists of the frame to ensure every board is supported by the joists – and don’t forget to include those expansion gaps between boards!
Fix each decking board to every joist it sits over using two decking screws each time. We’d recommend using pilot holes for this part of the project as well to keep your decking looking its best. Once everything is fixed, you should sand down any cut edges and apply a preservative to the end grains. You may also wish to stain your decking to weatherproof it for the future.
So, now you have your brand new, handmade decking area ready to use, but it won’t stay looking its best forever if you don’t maintain it. Deck maintenance doesn’t have to be an all-consuming task, though – doing a little often can make annual deep cleans a breeze. Try to sweep dead leaves and other debris off your decking at least once a month to keep it from building up.
As for your annual deep clean, we’d recommend you do this in spring or summer when there’s little risk of water turning to ice and causing a hazard. You can either use dish soap and warm water or a specialty deck cleaner to do the job – either will work. Use a sponge or a pressure washer to clean grime and dirt from your deck, and leave it to dry.
Top tip! Never use a pressure washer closer than six inches from your deck, as the power washing can cause damage to the timber and may result in splinters.
Back to news
The Author: Jamie Brown
From my early working life as a labourer, then becoming a builder and a property developer, I have been buying and using building materials for over 25 years. I set about to start a builders merchant which can offer high-quality products and significant savings along with speedy delivery to keep your sites moving. Still having a foot in the construction industry on my own property, I always make sure the products we sell are up to our high standards which is important for us to keep a great image for the company and superior reputation to supply quality!