How to Lay Artificial Grass
Posted: 26th September 2023
| Author: Jamie Brown
Back to news
How to lay artificial grass
Planning a makeover of your outdoor space with artificial grass? Whether it’s a tiny patch in your front yard or the whole of your back garden, it can make any space feel a little more welcoming.
Plus, artificial grass is low maintenance and not affected by drought, flooding or extreme weather. It’s great if you have kids and/or pets and want a safe, easy maintenance outdoor space. And pay a little more for a great quality product, and you’ll have a natural-looking artificial lawn that enhances the appearance of your property.
But to get the perfect finish, you need to lay your artificial grass properly. If you’re tackling it as a DIY job, read on. We’ve put together a guide covering everything you need to know to install it like a pro.
How to install artificial grass
Before you can start laying your new artificial grass, you’ll need to do some preparation work. Although it depends on what material you have as your base (for example, slabs, concrete or bare ground), it usually involves making sure the surface is clean, clear and level.
Read our handy guide on how to prepare for installing artificial grass for more information.
Once your ground is prepared, simply follow these steps to lay your artificial grass:
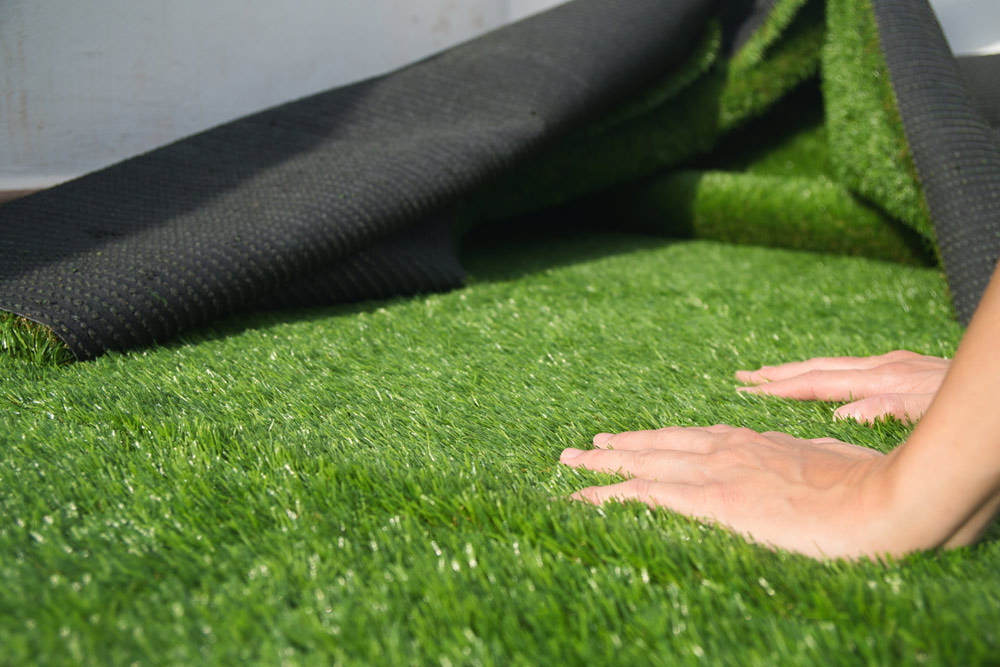
- Roll out the grass
Remove your artificial grass from its packaging and roll it out in the area where it is to be installed. It’s really important to ensure that the pile is running in the same direction on every roll. Tip - it usually looks more natural if the pile is facing in the direction of the house. Make sure the whole space is covered and that there’s a 50mm overlap between each section - and round the edges too.
- Let the grass acclimatise
You need to let the artificial turf acclimatise to the ground surface and the conditions. Leaving it to sit will achieve this, as well as getting rid of any creases. Ideally, you should leave the grass to acclimatise overnight (as long as there isn’t any rain forecast) or 2-3 hours as a minimum.
- Join sections together
We’ll run through this step in more detail shortly, but this process basically involves positioning two sections and using jointing tape and adhesive to join them together.
- Trim where needed
Using a very sharp knife for a neat and even finish, trim the grass sections to size where they overlap at the edges. You might also need to cut around obstacles, such as border walls, sheds or pathways. It’s recommended to turn the section over and cut from the pack, running your knife neatly next to the stitch lines (so you can avoid the stitches themselves).
- Secure your grass
Once you’re fully happy with the joins, trims and overall look of your artificial grass, it’s time to secure it to the ground. If you’re installing on top of a solid concrete base, you can use an adhesive suitable for outdoor use on this type of surface. If you’re laying onto a compacted sand and stone base, you can use landscaping nails or a wooden batten to secure your grass.
- Tidy up
The last step is simply to sweep up any stray or loose pieces of grass, along with any other debris from the installation process. Make sure to wait until any adhesive has dried before using a brush on the surface, as you could accidentally move sections out of place.
How to join artificial grass
The process of laying artificial grass is reasonably straightforward, and requires very little in the way of specialist skills or tools. But there is one potentially tricky part. This is the joining of different sections of turf, which will be required if you’re covering a very large area. You might also have corners or other awkward-shaped spaces to cover.
To ensure a natural and even finish, it’s important to take your time over this step.
Here’s what you need to do to cut and join artificial grass sections together:
- If you need to cut pieces, first unroll and position them in the space where they will be laid. Mark out where you need to cut, then use a sharp knife to cut closely to the bead of the first piece of grass. On the second piece, do another cut, leaving enough room for the beading.
- Position the pieces back together. This is called creating a ‘dry’ join.
- Carefully roll back the sections of grass, leaving space in the centre for the jointing tape.
- Unroll the joining tape and lay it between the two sections of grass, making sure the shiny side is face down. Fold back the joining edges on the tape by around 30cm.
- Spread adhesive on the jointing tape. You can use a scraper to ensure smooth and even application.
- Secure the two sections of grass on the adhesive-covered jointing tape, working your way carefully down the seam. It’s important in this step to make sure that tufts of grass aren’t buried in the join, or damaged by the process.
- Lightly brush over the seam, applying gentle pressure to ensure the adhesive sticks securely to the underside of the turf.
- Leave to dry, and avoid walking on the grass until it’s fully dry.
The Author: Jamie Brown
From my early working life as a labourer, then becoming a builder and a property developer, I have been buying and using building materials for over 25 years.
I set about to start a builders merchant which can offer high-quality products and significant savings along with speedy delivery to keep your sites moving.
Still having a foot in the construction industry on my own property, I always make sure the products we sell are up to our high standards which is important for us to keep a great image for the company and superior reputation to supply quality!
View Author Profile
Back to news